DEDICATED TO EXCELLENCE: SERVICE • QUALITY • INNOVATION
ESTABLISHED 1953
There’s nothing worse than submitting an RFQ for a precision sheet metal fabrication project and getting back no-quote after no-quote.
Many shops will no-quote projects that pose manufacturing challenges, which adds pressure on engineers to ensure their designs are easily manufacturable.
At All Metals Fabricating, we’re happy to offer Design for Manufacturability (DFM) advice that consistently yields functional designs optimized for manufacturing.
When engineers understand DFM best practices, they set themselves up for success by ensuring that manufacturing can occur as seamlessly as possible. Designs that are easily manufacturable are associated with shorter lead times and lower prices. If you like the sound of that, check out these DFM tips for sheet metal fabrication:
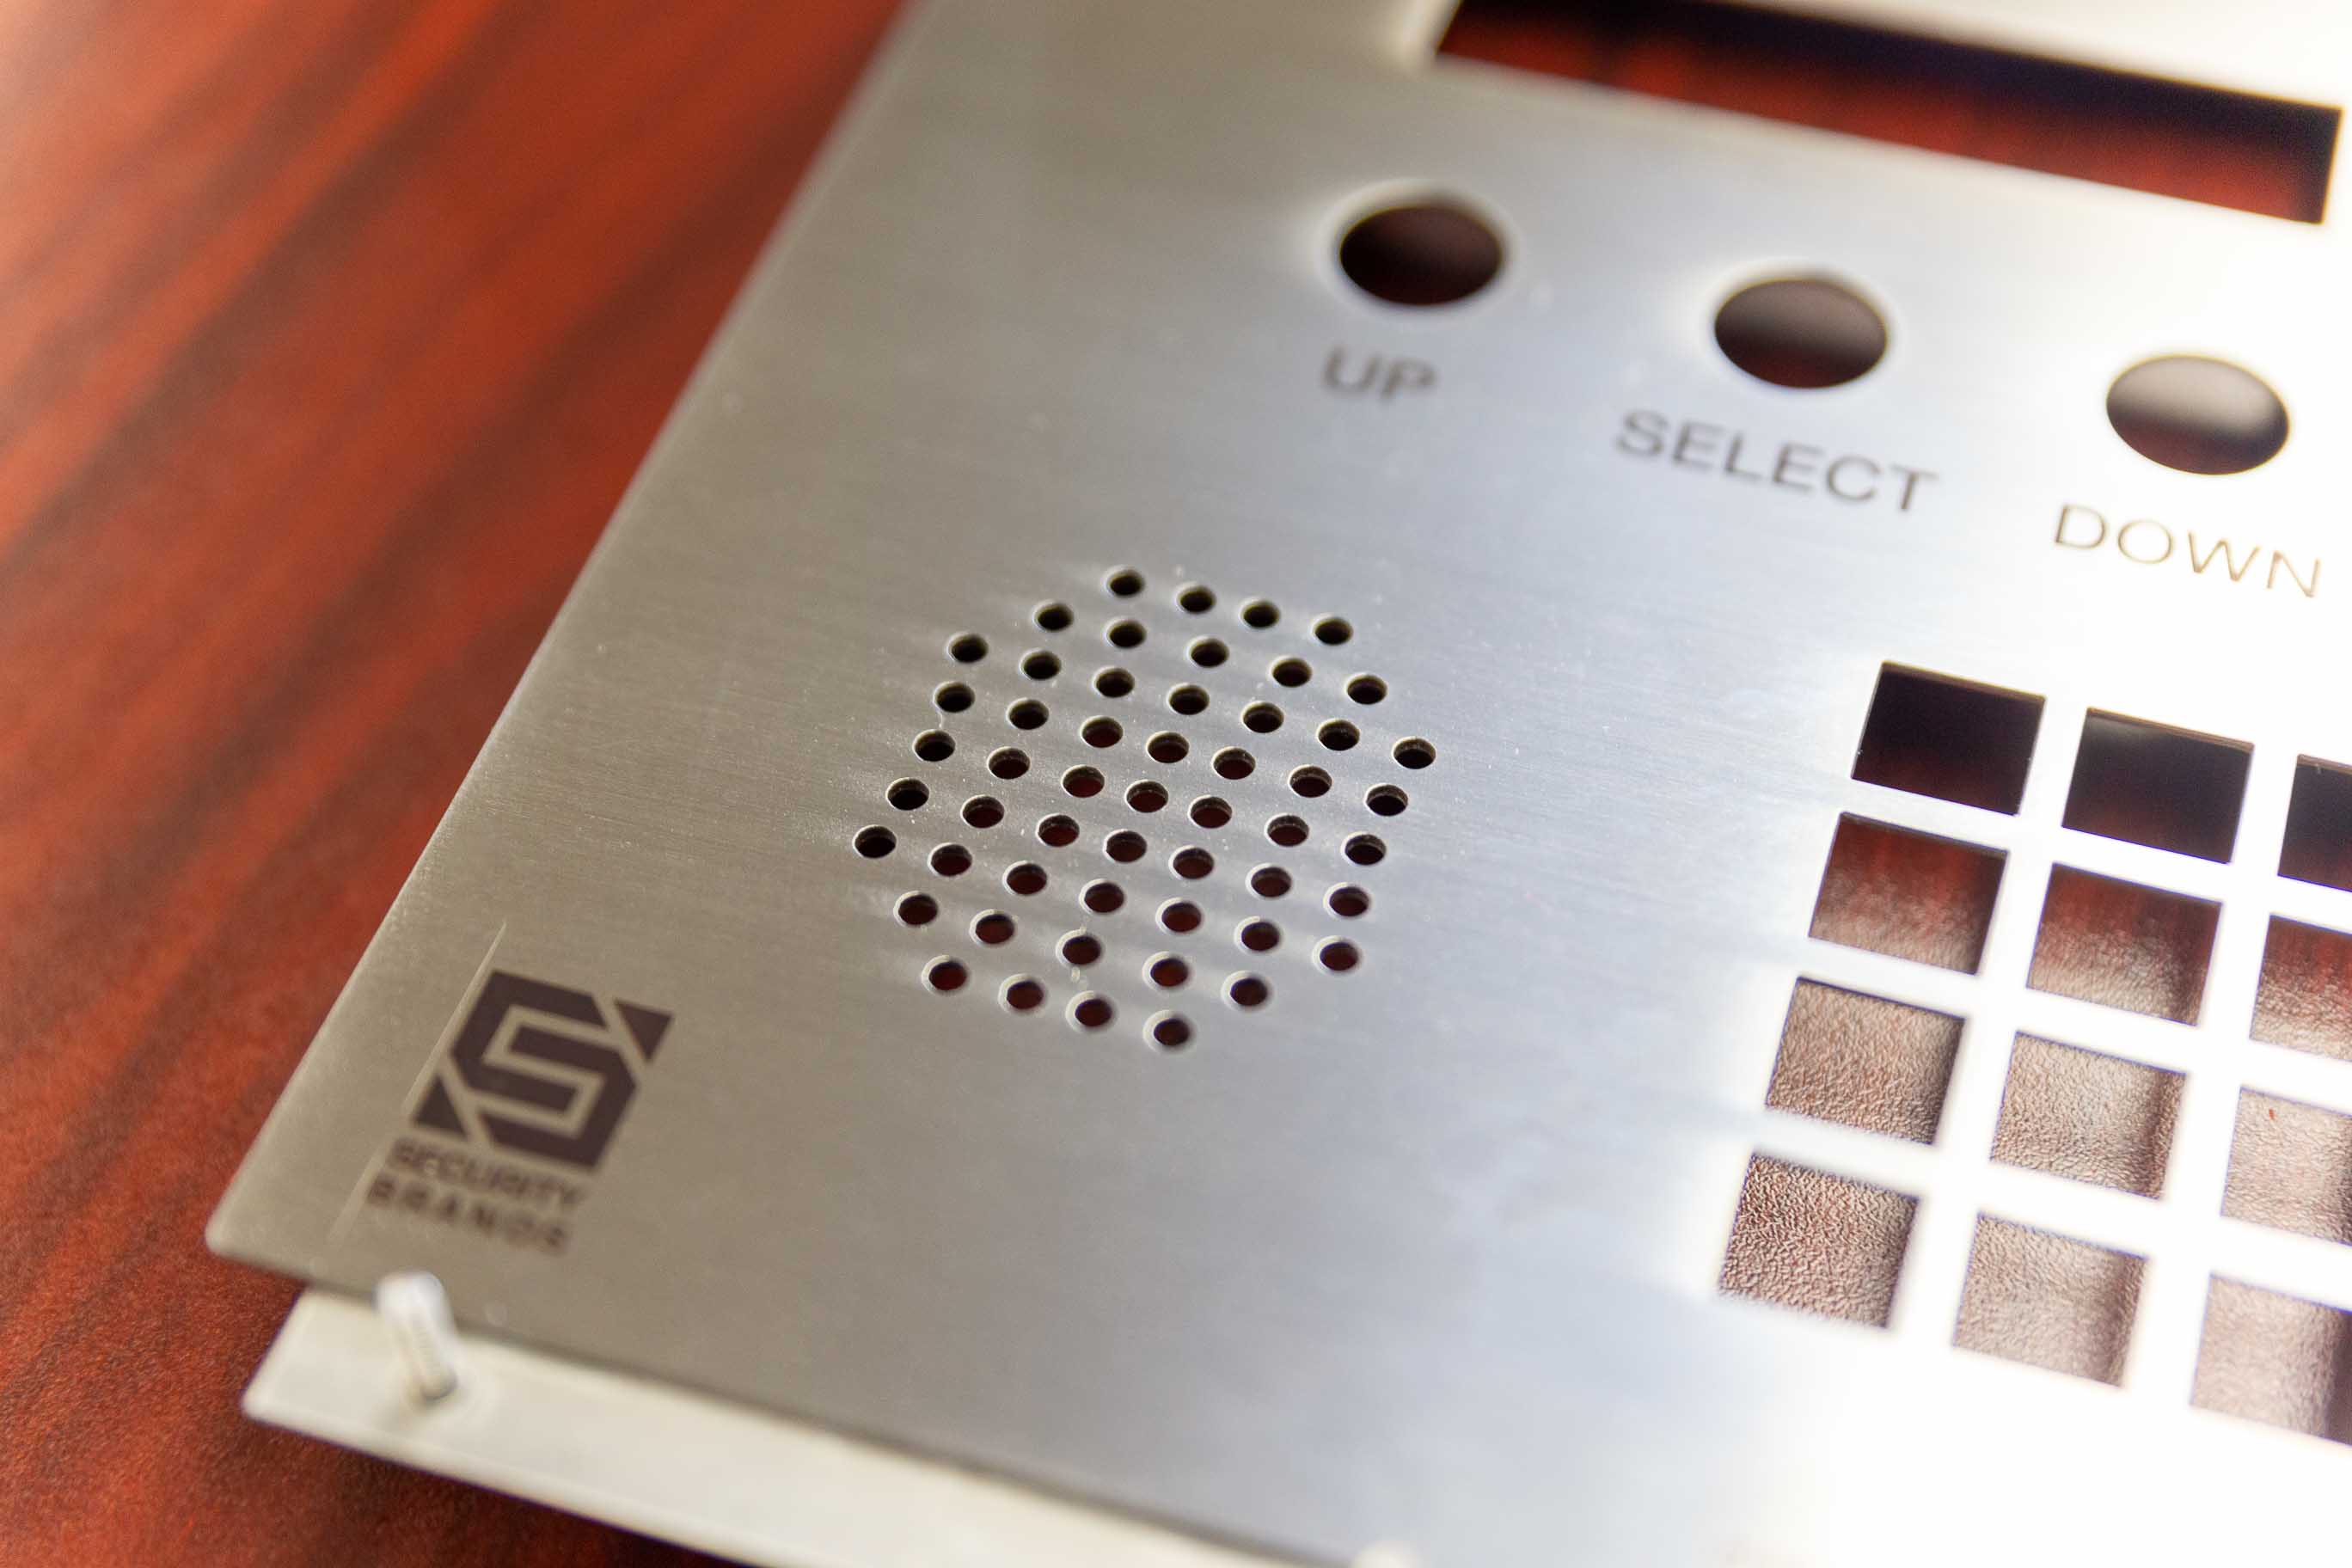
In general, a hole’s diameter should be no smaller than the material’s thickness. This rule is especially important for thicker materials.
While it’s technically possible to cut holes smaller than the material’s thickness, the approach often involves using a CNC mill, which will significantly increase the cost.
Adding another operation and setup drives up cost and lead time, so we recommend thinking critically about your hole diameter in conjunction with your material thickness.
Bends can impact the functionality and aesthetics of cutout features throughout your part. For example, if a hole is located too close to a bend, it could pull, potentially interfering with hardware insertion or affecting the aesthetics of the feature. Generally, it’s best to keep bend lines an entire hole diameter distance away from the cutout feature.
To ensure efficient manufacturing, we recommend consistently using the same bend radii and angles throughout the part to prevent the need for multiple setups. If possible, note that your sheet metal shop may use their discretion regarding bend radii. Often, shops default to the tightest radius possible to enhance a part’s aesthetic appearance.
What happens when you don’t indicate that the bend radius is up to our discretion? We’ll contact you to obtain approval on our chosen radius. That back-and-forth creates inefficiency in the manufacturing process, so it’s best to avoid it.
When designing your part, it’s important to consider how it will fit onto a standard-sized sheet. Our standard sheet sizes are 48” x 120” or 60” x 120” and require an edge buffer of .125” on the exterior of the sheet and between nested parts. With these parameters in mind, you can achieve optimal sheet utilization and prevent waste.
For optimized sheet metal fabrication, we recommend keeping material thicknesses the same when possible to improve dynamic nesting and using the same material type for all parts in an order.
We put in the effort to protect your parts from scratches and other imperfections that can occur during the manufacturing process. But the precautions we take can drive up costs and lead times.
If you don’t mind a few surface imperfections on your part, let us know up front, and we can likely provide a lower cost estimate. It is best to have a standard for different surface requirements that clearly outlines what kind and how many imperfections are allowed per a defined space.
One major issue we want to prevent is forming your parts backward. When parts appear symmetrical but aren’t, they could get bent in the wrong direction.
To avoid this mistake, we recommend adding a small feature on your part, like a hole, so brake operators can identify the asymmetry and distinguish the directions of the bends. If adding a distinguishing feature isn’t an option, then you can also clearly notate it on the print to help draw attention to the brake operator.
Even something as small as a fastener can have a significant impact on the manufacturability of your design. Sometimes, customers will indicate a random name for a piece of hardware without specifying the length, leaving us unsure of what they need.
Instead, we recommend using the same PEM brand hardware when possible and indicating the PEM part number in the bill of materials. If your PEM hardware has its own internal part number that you created, be sure to specify it. It’s also helpful for us to get the PEM CAD file when you send us the model of your part, so we’re all on the same page about what you need.
Want to optimize the manufacturing process even further? Select hardware sizes 10-32 for greater ease of assembly. And if your part has press-in hardware, make sure your non-hardware holes are a different size to ensure the hardware always goes into the correct hole.
Finishing is often necessary for parts, but certain finishing specifications could lead to inefficiencies and added costs. Here are a few helpful dos and don’ts:
Including clear welding instructions prevents back and forth, but many engineers may not know the exact welding method their part needs. We recommend calling our sheet metal shop to discuss welding options from the beginning so we can all be on the same page.
One quick welding tip: use the tab and slot method—which focuses on the orientation of parts rather than the fixture—when designing your weldments to reduce setup time and ensure parts fit together correctly.
The more dimensions a part has, the more we need to measure during inspection—which adds to your project’s lead time. It’s important to find the sweet spot of giving us the information we need to make a functional, precise part without going overboard.
We advise customers to indicate every dimension our operators need to know when fabricating a part and using a bubble or triangle to signify the critical dimensions we should focus on during inspection.
At All Metals Fabricating, we want to help you create the best precision sheet metal fabrication designs possible. Request a quote today, and we’ll help you take your design to the next level.
.jpg)
